
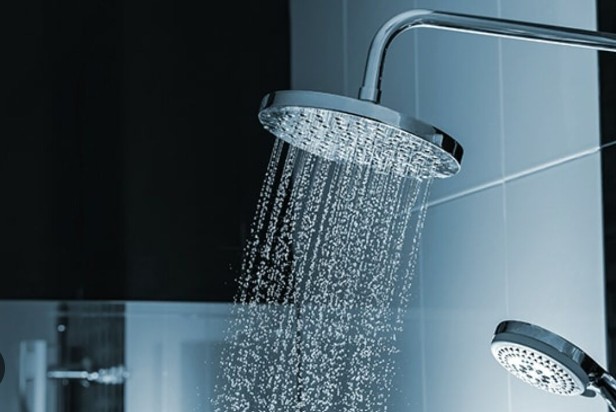
Here is a scenario: you have just had a refreshing shower to wash away the fatigue after a long, tiresome day, only to realize your shower won’t stop running.
This annoying problem can disrupt the peace of your home and potentially cause both a headache and a dent in your wallet. Why does it happen?
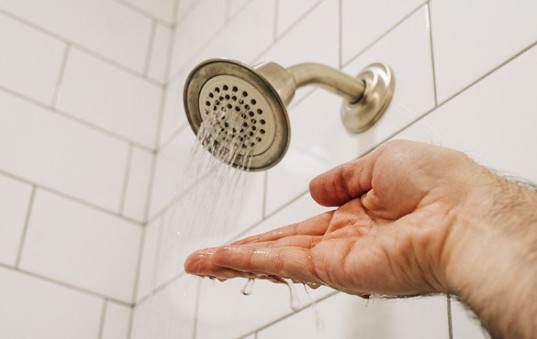
Your shower won’t stop running, likely because of a faulty shower valve, worn-out cartridge, damaged seal or washer, high water pressure, or an incorrect installation. This issue can also stem from sediment buildup or a faulty shower diverter.
If you encounter this problem, troubleshoot it to uncover the cause, then employ the necessary steps to fix it.
Reasons Your shower won’t stop running and their fixes
| Problem | Possible Causes | Recommended Fixes | |
| 1. | Faulty Shower Valve | Wear and tear Mineral buildup Corrosion | Clean the shower valve Repair or replace damaged parts or the valve |
| 2. | Worn-Out Cartridge | Mineral or sediment deposit Deformities Normal wear | Clean or replace the cartridge |
| 3. | Damaged Seal or Washer | Wear and tear | Clean the seals and washers for minor issues Replace damaged seals and washers |
| 4. | High Water Pressure | Install or make sure your pressure-reducing valve works well | |
| 5. | Sediment Buildup | Clean the showerhead Flush the pipes Replace severely affected parts | |
| 6. | Faulty Shower Diverter | Mineral buildup Wear Internal damage Incorrect installation | Clean the shower diverter Replace the shower diverter |
| 7. | Incorrect Installation | Misaligned parts Loose connections Improperly fitted components | Adjust and realign components |
1. Faulty Shower Valve
This is a primary cause of a continuously running shower. The valve can malfunction due to wear, tear, or mineral buildup interfering with proper control of water flow and temperature.
Check your shower valve for visible damage, leaks, or corrosion- look for any signs of wear or irregularities in its structure. Also, turn off the water supply to the shower, disassemble the valve, and inspect its internal components for damage, mineral deposits, or worn-out parts.
Fix
a) Clean The Valve
Use a vinegar solution or commercial descaler to dissolve mineral buildup inside the valve. After that, use a brush to gently scrub away any deposits that may obstruct the valve’s functionality.
b) Repair or Replace Damaged Components
If the issue lies with the washers or O-ring, replace them following the manufacturer’s guidelines. Some shower valve manufacturers offer repair kits with the necessary components for fixing common issues, so consider using them if available.
c) Valve Replacement
If the valve is severely damaged or cleaning and component replacement don’t resolve the issue, consider replacing the entire valve. If you are seeking a Rite-Temp shower valve replacement, consider this Kohler K-GP77759 Mixer Cap For Pressure Balance 1/2” Shower Valve (View on Amazon), as it fits most shower valves and has a temperature limit stop.
2. Worn-Out Cartridge
Continuous water flow or dripping, even when the shower handle is in the off position, could indicate a worn-out cartridge.
To really make sure the cartridge is the problem, disassemble the faucet handle and inspect the cartridge for signs of wear, damage, or mineral buildup. Look for cracks, scratches, or any deformities.
Fix
- Clean the Cartridge
Dip the cartridge in vinegar to break down mineral buildup that might hinder its functionality, then gently scrub it to remove any deposits or debris.
- Replacing the Cartridge
If cleaning the cartridge doesn’t fix the problem, replace it. Refer to the faucet’s manual or carry the old cartridge to the store to ensure you get a suitable replacement.
3. Damaged Seal or Washer
The seals or washers in your shower faucet may be small, but they are crucial components. They create a tight seal to control water flow when the faucet is turned on or off, thus preventing leaks and maintaining the proper functioning of the fixture.
Unfortunately, these components can wear out due to constant use, leading to shower leaks or drips. Leaks around the faucet or under the handles indicate a damaged seal or washer.
Disassemble the faucet handle to access the seals and washers to check for signs of wear, tears, or deformities in these parts.
Fix
Check for cracks, tears, or signs of deterioration. Cleaning might suffice for minor damage and to remove debris or mineral buildup.
If the seals and washer are severely damaged, replace them. Identify the correct type and size of seals or washers needed for your faucet by referring to the manufacturer’s manual or taking the old parts to a hardware store for matching replacements.
Once you get the proper replacement seal and washer, carefully replace the damaged seals or washers, ensuring a good fit and alignment.
4. High Water Pressure
Keeping your home’s water pressure at the recommended range is fundamental for the proper functioning and longevity of your plumbing components. High water pressure can exert too much stress on various features, including shower parts, causing leaks, constant water flow, or damaging fixtures.
Measure the water pressure with a gauge (ensure it’s 40-60 psi for residential properties). High water pressure signs include leaking faucets, banging pipes, and excessive water flow from fixtures.
Fix
Install a pressure-reducing valve to make sure the water pressure remains within the recommended limits. However, before doing so, consider contacting a plumber to assess the need for a pressure-reducing valve based on your home’s water pressure levels.
If a pressure regulator is already installed, ensure it functions optimally. Adjust or replace it if needed to maintain optimal pressure levels.
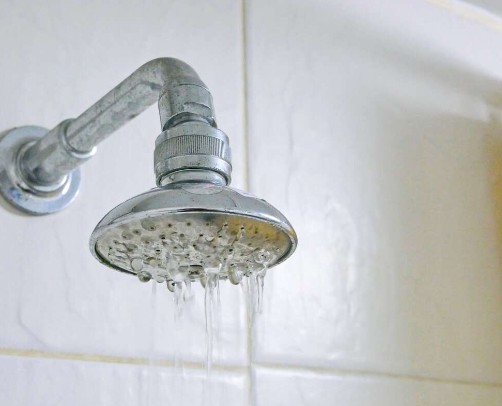
5. Sediment Buildup
Sediment buildup within the shower’s plumbing system, particularly in the showerhead or valves, can obstruct water flow and cause a shower to run continuously. The signs of sediment buildup are reduced water flow, irregular pressure, or visible debris in the water.
Examine the showerhead and valves for mineral deposits or sediment accumulation.
Fix
i) Clean the Showerhead
Unscrew your showerhead, then dip it in vinegar or a descaling agent to dissolve mineral deposits. Next, gently scrub any remaining sediment using a brush or toothbrush.
However, if your showerhead is severely compromised by mineral buildup, consider replacing it. The SparkPod Shower Head (View on Amazon) is an excellent, popular choice- it jets out water at a high pressure, is easy to install, has easy-to-clean nozzles, is energy-saving, and comes in many colors.
ii) Flush the Pipes
Remove the valves or components to access areas where sediment might be accumulated. Then, use clean water to flush out debris from valves or pipes and dislodge any stubborn deposits with a pipe brush.
iii) Consider installing a water softener to reduce the water’s mineral content, preventing future buildup.
iv) Implement a routine cleaning schedule for showerheads and valves to prevent sediment accumulation.
v) Consider replacing the affected components or fixtures to fix extensive sediment buildup that’s difficult to clean.
6. Faulty Shower Diverter
If you have a shower/tub combination, the diverter might malfunction. This can cause water to continue flowing through the showerhead instead of stopping when you turn off the faucet.
Continuous water flow from the tub faucet and showerhead or difficulty diverting water could indicate a faulty diverter. Examine the diverter mechanism for visible damage, leaks, or irregularities.
Potential causes of a faulty shower diverter include:
- Mineral Buildup: Minerals can pile up and block the diverter, impeding its movement.
- Wear and Tear: Continuous use can wear down the diverter, leading to it becoming loose or malfunctioning.
- Internal Damage: Internal components may break or wear out, preventing the diverter from properly redirecting water flow.
- Incorrect Installation: Sometimes, improper installation can cause issues with the diverter function.
Fix
- Clean the diverter to remove any debris or mineral buildup.
- If cleaning or repair isn’t effective, consider replacing the diverter with a new one. Ensure you select the correct model and size compatible with your shower system.
7. Incorrect Installation
Continuous water flow, leaks, or irregular functionality might also indicate improper installation. Check your shower fixture for misaligned parts, loose connections, or components not fitted correctly.
Fix
Determine the specific installation error(s) causing the issue. After that, adjust and realign the fixture components accurately per the installation instructions.
How to Tighten A Loose Showerhead
If the cause of your continuously running shower is a loose showerhead, here’s how to fix it
Tools
- Adjustable wrench or pliers
- Pipe tape or thread sealant (if necessary)
Steps
a) Turn Off The Water
Before starting any work, temporarily halt your shower water supply. You can do so at the shower’s or home’s main shut-off valve.
b) Remove The Showerhead
Detach the showerhead from the arm. You might be able to do this by hand, so turn it counterclockwise to loosen and remove it. However, if it’s stuck, use an adjustable wrench or pliers wrapped in a cloth to avoid scratching the fixture.
c) Inspect The Shower Arm
Check the shower arm for any damage or corrosion. If it’s in good condition, advance to the next step. You might need to replace the shower arm if there’s any damage.
d) Clean the threads
Clean the showerhead threads and the shower arm threads to remove debris or old tape. You can accomplish this by soaking it in vinegar and then scrubbing it with a toothbrush or a small brush.
e) Apply pipe tape or thread sealant (optional)
Wrap the threads of the shower arm with the plumber’s tape or apply a thread sealant. This step is instrumental if there’s no tape or sealant or if you suspect a leak from these connections.
f) Reattach the showerhead
Screw the showerhead to the shower arm, then tighten it by hand. Next, use the wrench or pliers (with a cloth for protection) to snugly secure it.
Proceed cautiously to avoid tightening the showerhead excessively, as this might damage the threads.
g) Turn On The Water
Once you’ve securely reattached the showerhead, turn on the water supply and check for leaks. If your showerhead feels secure and you do not see any leaks, you’re all set!
Final Remarks on Shower Won’t Stop Running
The reason your shower will not stop running can stem from simple wear and tear to more complex plumbing issues. Fortunately, you can address these issues yourself. Once you fix the problem, you can keep it from recurring through regular maintenance, proper installation, and addressing issues promptly.
Also, Read: